3D Postprocessing#
The menu only displays the 3D Postprocessing panel if the design is solved and results are extracted by the toolkit.
You have five 3D postprocessing categories:
Note
You can access 3D settings to change the plot settings.
In the following images, Solution is set to rcs_scenario, which is for a car.
RCS#
Go to the 3D Postprocessing panel from the left sidebar. In the following image, RCS is the selected postprocessing category.
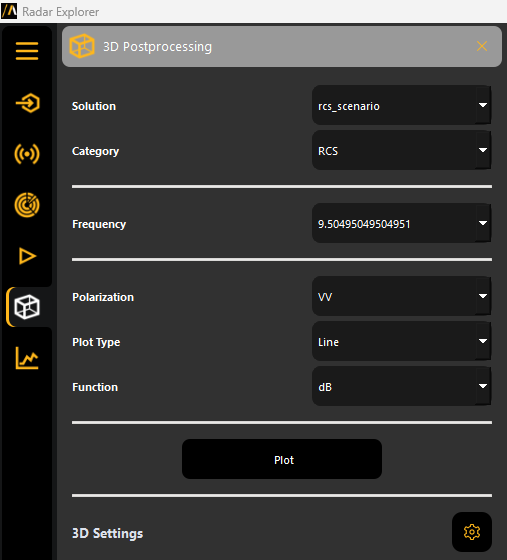
Click Plot to generate a 3D plot based on the specified settings.

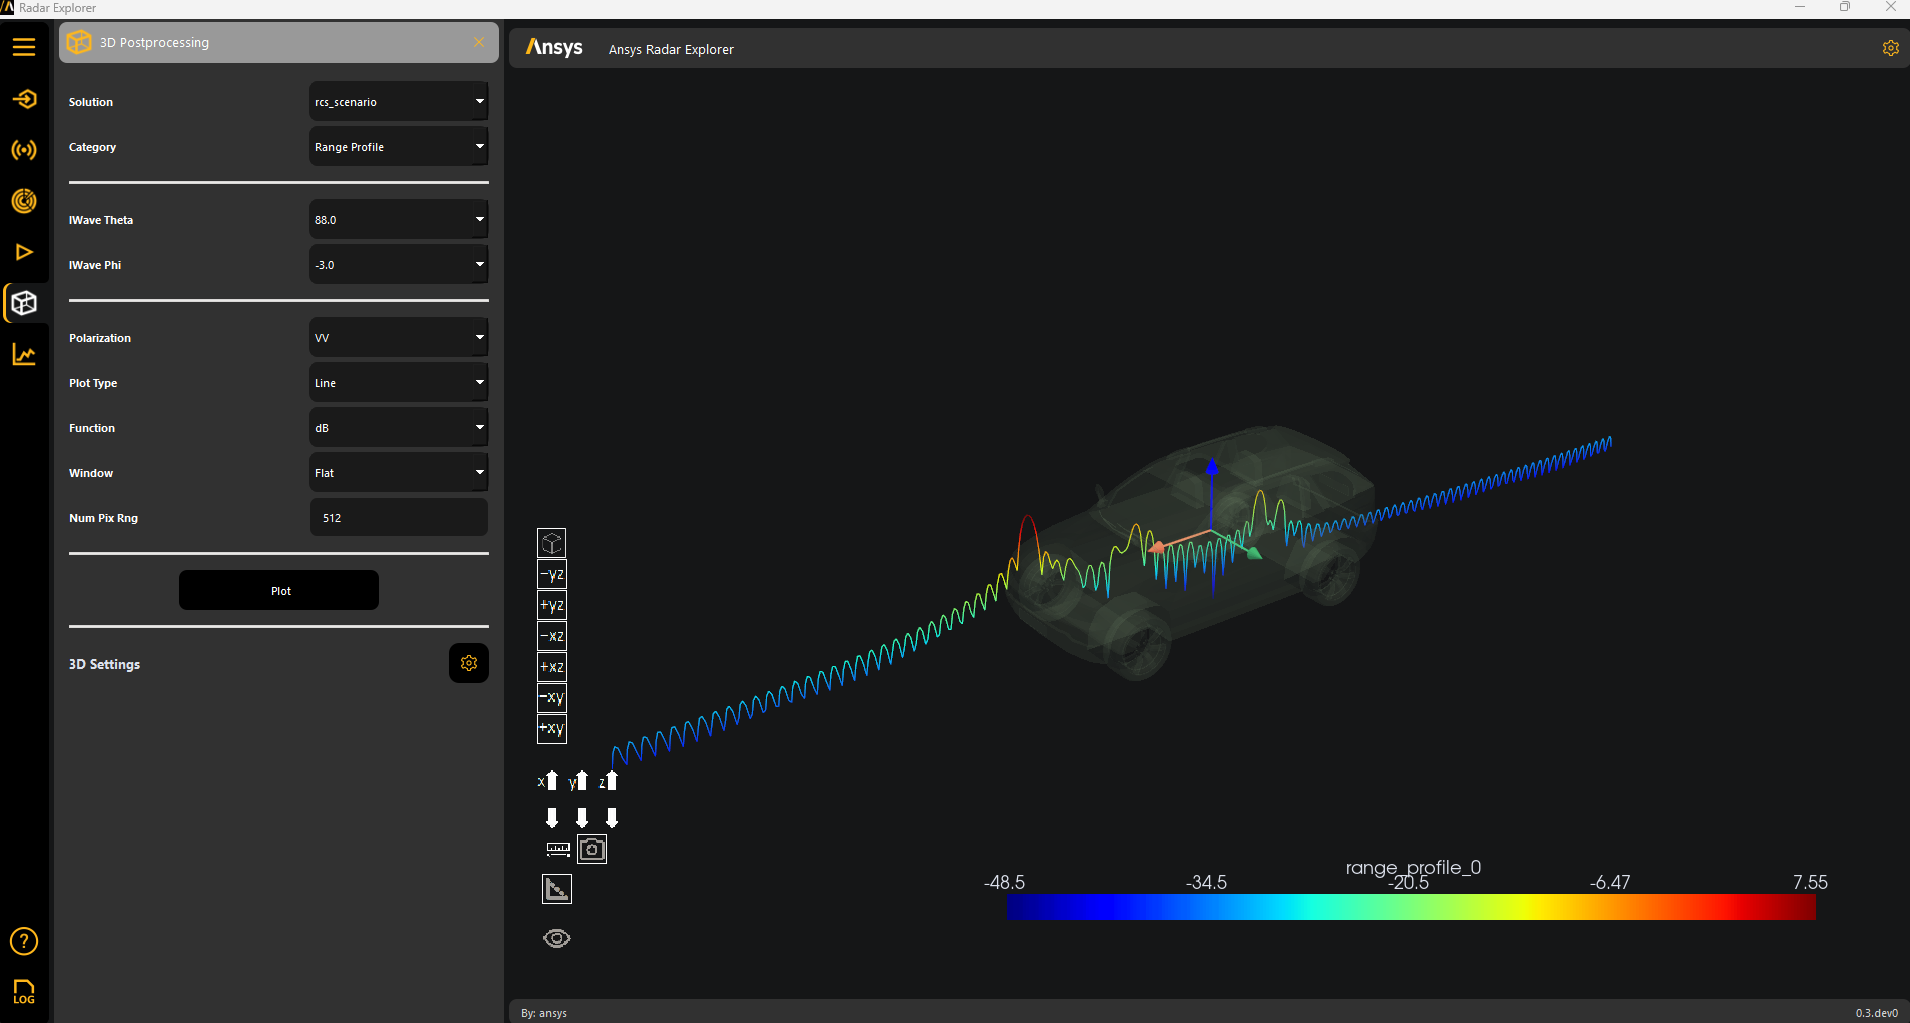
Range profile#
Go to the 3D Postprocessing panel from the left sidebar. In the following image, Range Profile is the selected postprocessing category.
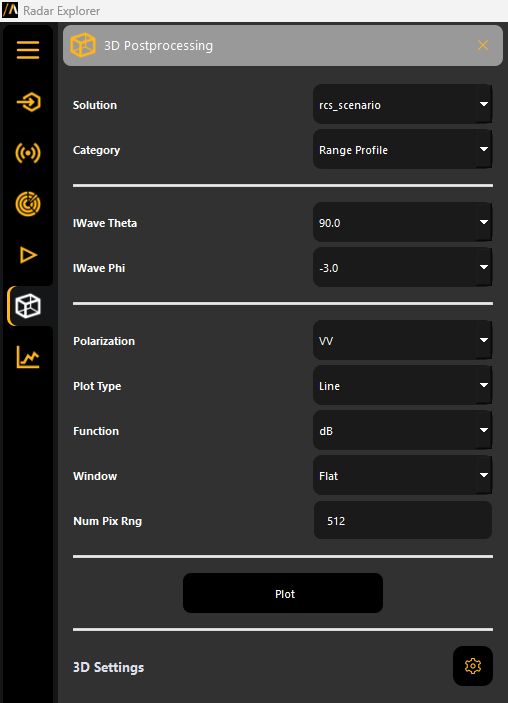
Click Plot to generate a 3D plot based on the specified settings.
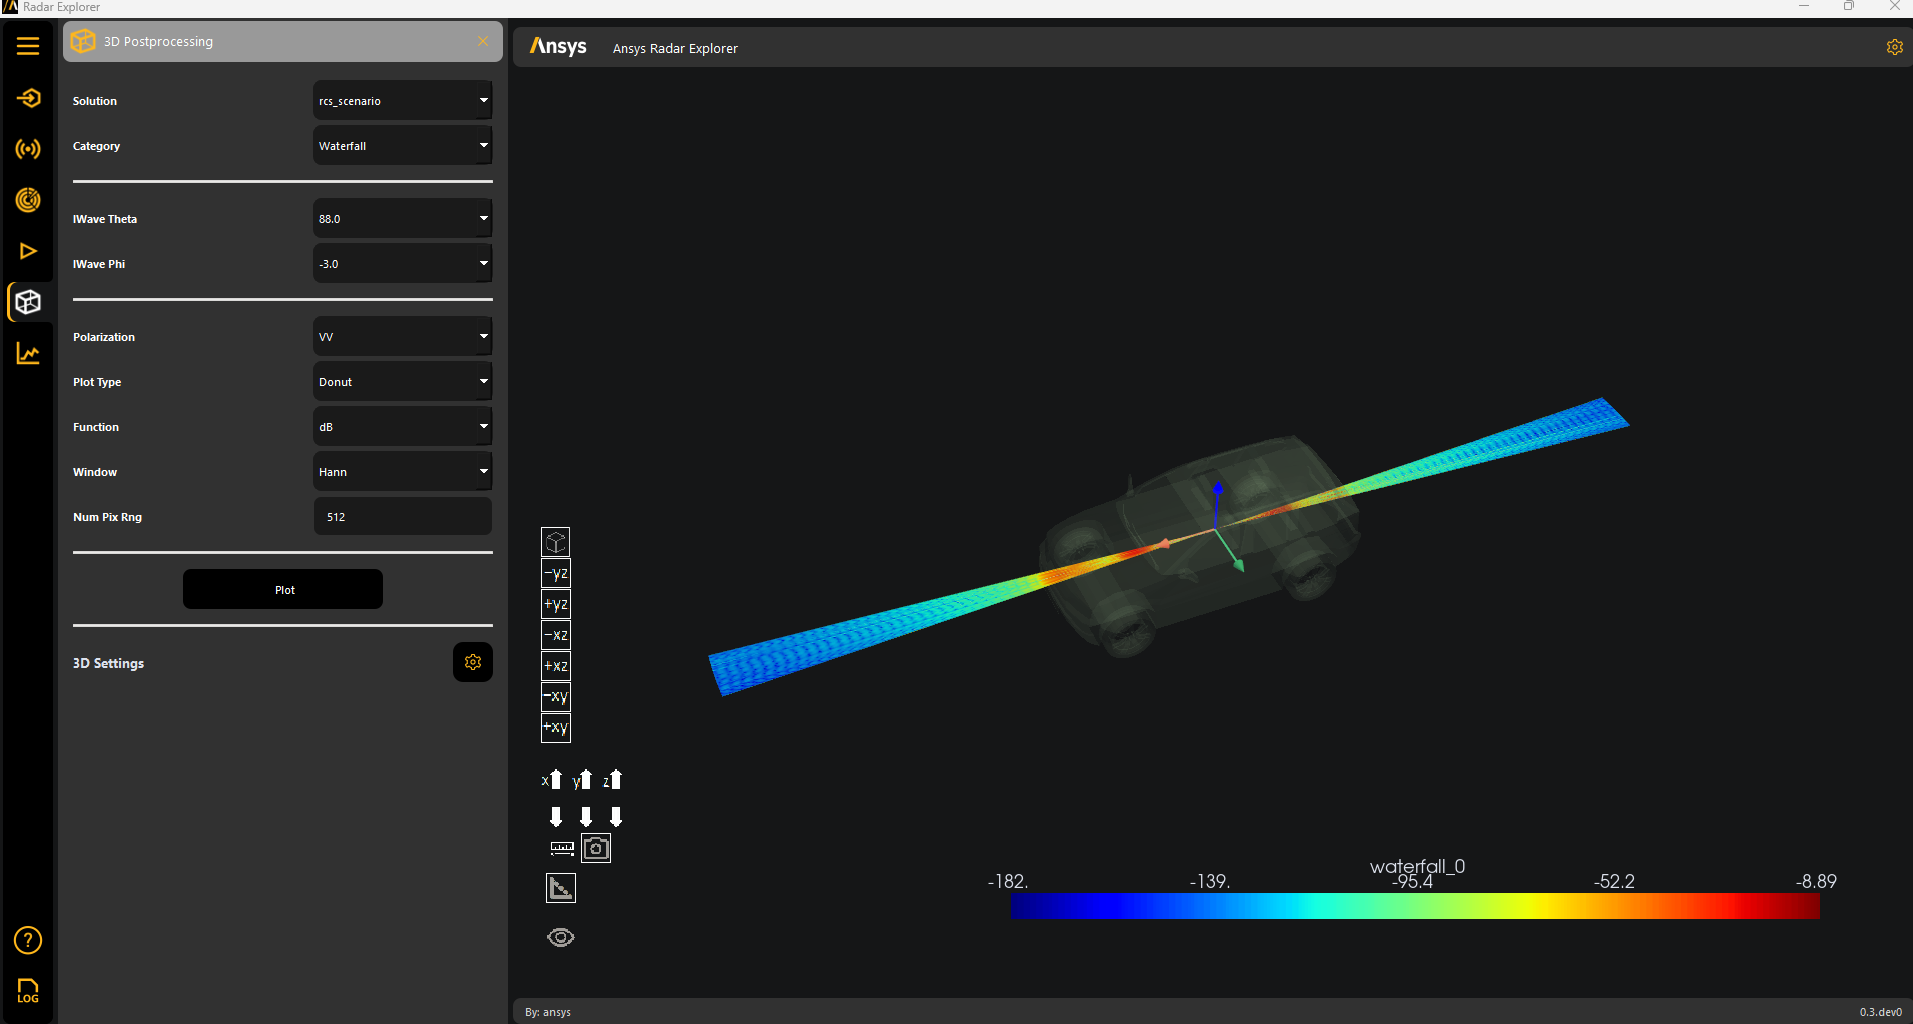
Waterfall#
Go to the 3D Postprocessing panel from the left sidebar. In the following image, Waterfall is the selected postprocessing category.
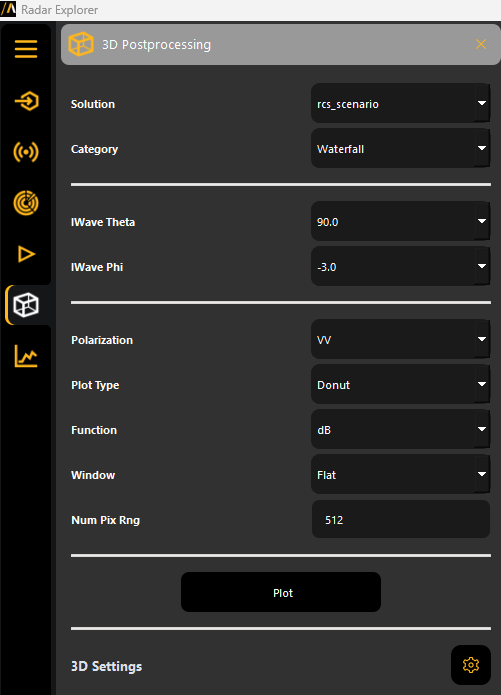
Click Plot to generate a 3D plot based on the specified settings.
ISAR 2D#
Go to the 3D Postprocessing panel from the left sidebar. In the following image, 2D ISAR is the selected postprocessing category.
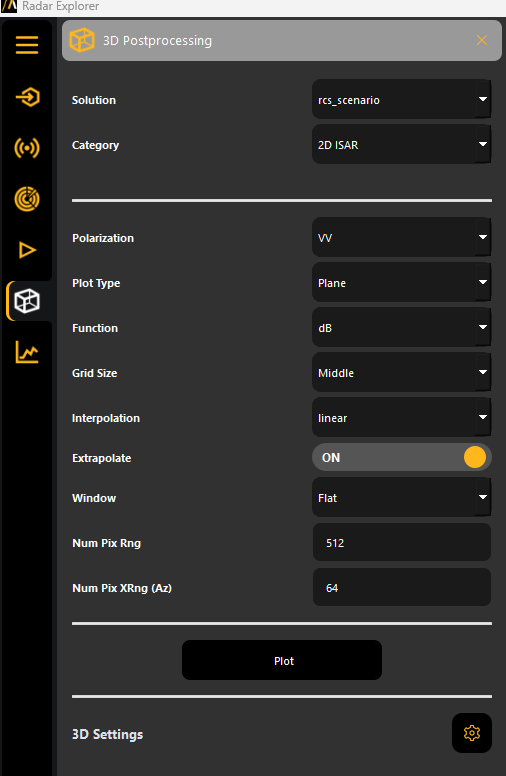
Click Plot to generate a 3D plot based on the specified settings.

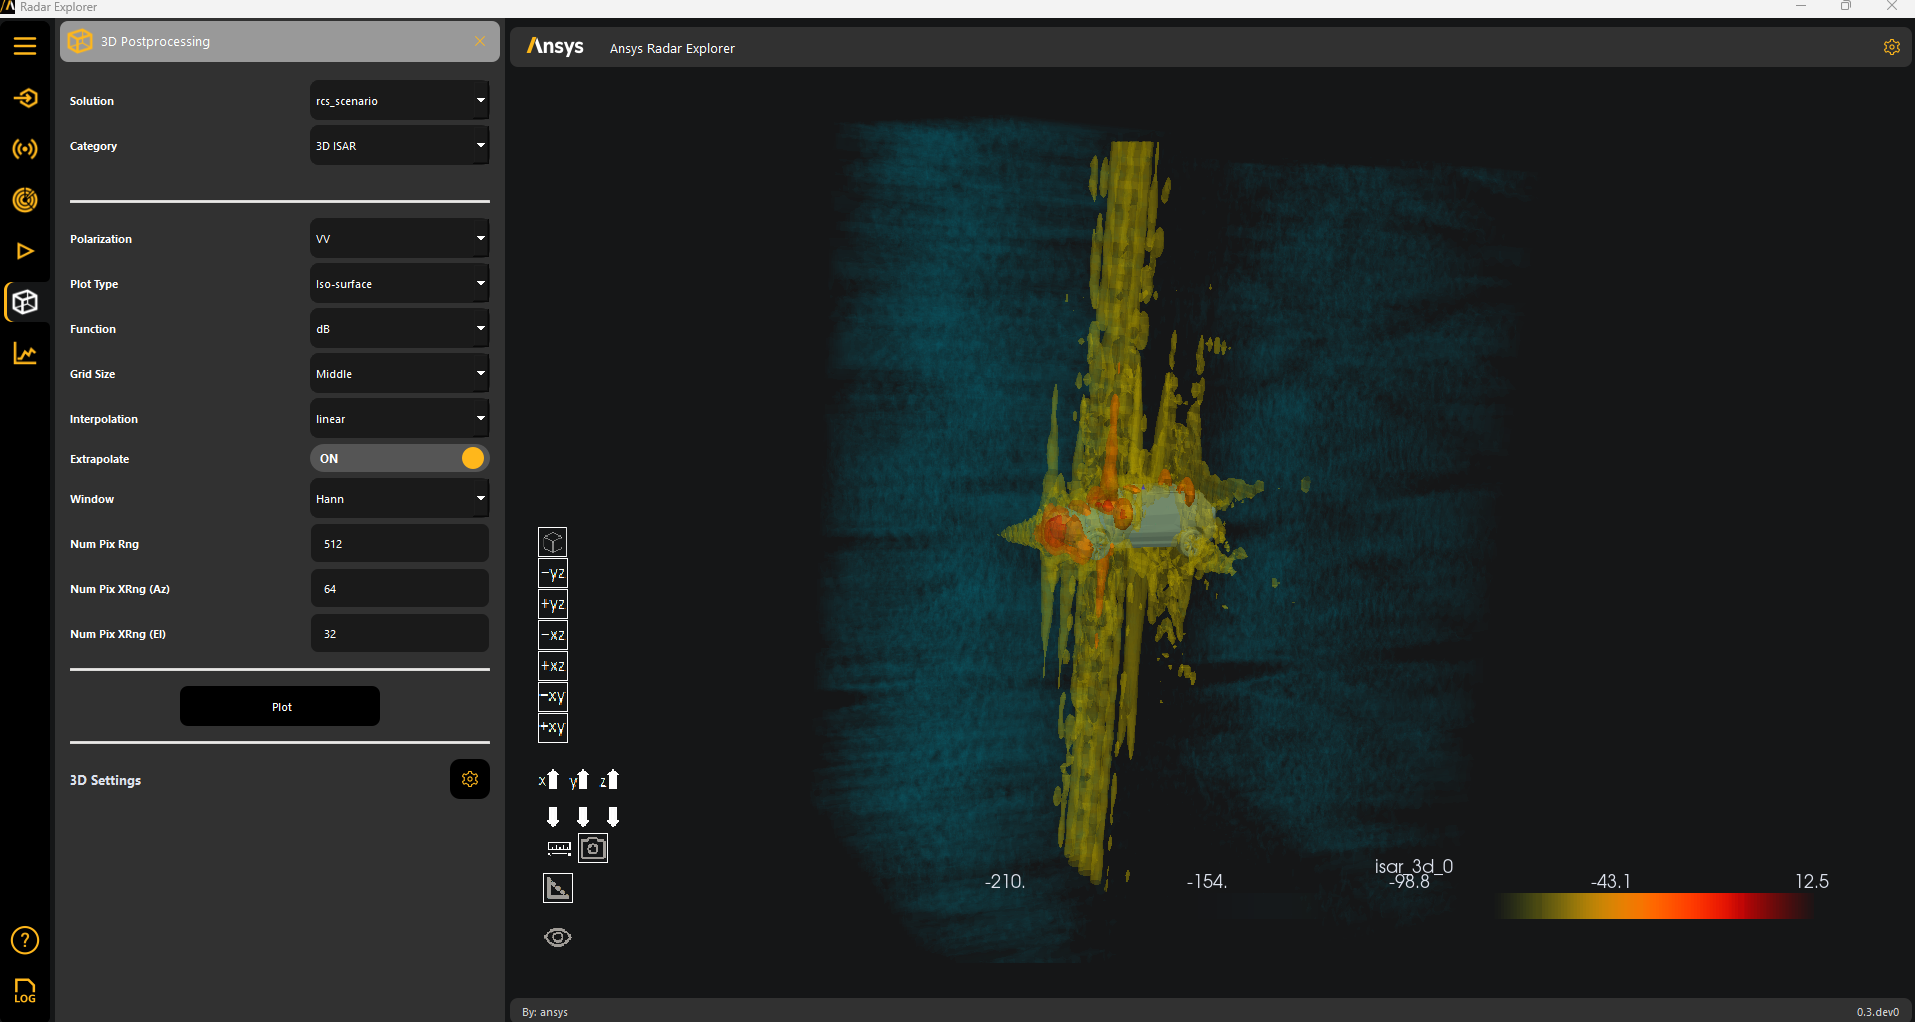
ISAR 3D#
Go to the 3D Postprocessing panel from the left sidebar. In the following image, 3D ISAR is the selected postprocessing category.
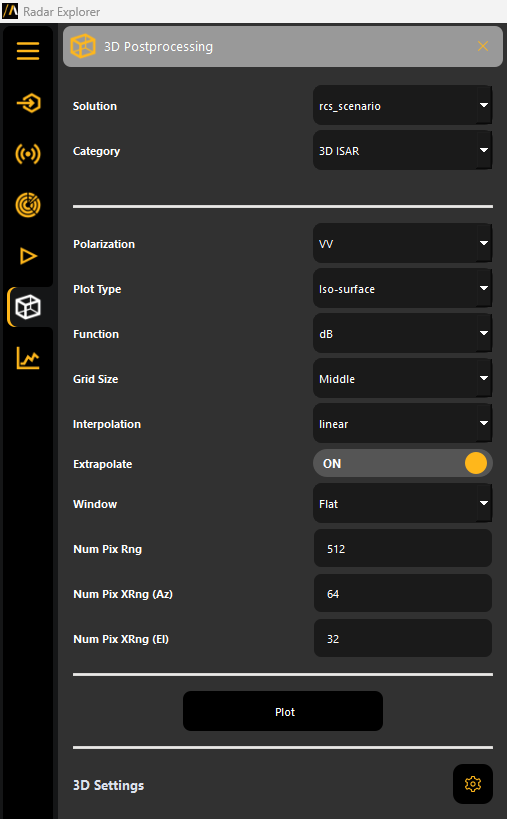
Click Plot to generate a 3D plot based on the specified settings.